In this detailed guide, I'll show you exactly how I make cake toppers with my Cricut from start to finish. You can create your own design or use my free cake topper files so you can download and start cutting with your Cricut right away.
One of the great things about creating Cricut cake toppers is that they completely eliminate the need for piping a message onto the cake. This is handy if you're new to cake decorating or want to avoid piping.

You can add a personal touch to your dessert with custom-made cake toppers, so I'm excited to share these tips and techniques with you. Remember to grab the free topper designs at the bottom of the post!
Table of Contents
Materials Needed
Creating your cake toppers with your Cricut maker can be done with just a few supplies. Here's what you need to get started:
To craft these toppers, you'll need the following items:

Heavy Duty Cardstock (I think glitter cardstock looks best and is more sturdy)
I recommend the Craffaso Heavy Duty Glitter Card stock. It's sturdy and keeps its shape well, which is perfect for cake toppers.
Craffaso offers two glitter types: regular glitter cardstock and no-shed glitter cardstock. The no-shed type has finer glitter and cuts cleaner without leaving a glittery mess.
Even though it's less vibrant than the regular kind, it's great when you're making a lot of banners. Look for a cardstock made of a thicker material than regular cardstock for the best results. Gold glitter cardstock is one of my favorites for cake toppers.

A Cricut, Silhouette, or similar cutting machine
This is your primary tool for crafting cake toppers.
 ,Green")
This mat helps to hold your cardstock in place while your Cricut cuts out your design.

This fine point blade is what your Cricut uses to cut your designs. Make sure it's sharp and ready to go!
![[100 Count] 12 Inch Bamboo Wooden Skewers For Shish Kabob, Grilling, Fruits, Appetizers, and Cocktails](https://m.media-amazon.com/images/I/41RLbhHTQyL._SL500_.jpg "[100 Count] 12 Inch Bamboo Wooden Skewers For Shish Kabob, Grilling, Fruits, Appetizers, and Cocktails")

Hot glue is my go-to because it's quick and sturdy. You don't have to wait for it to dry, which is great for last-minute toppers.
Just watch out for those glue strings and clean them up quickly. You can also use clear epoxy or tacky glue, but I suggest using these only when you have time to let your toppers dry overnight.
DIY cake topper tutorial
Here's a quick guide on how to create your cake topper using one of my premade SVG files:
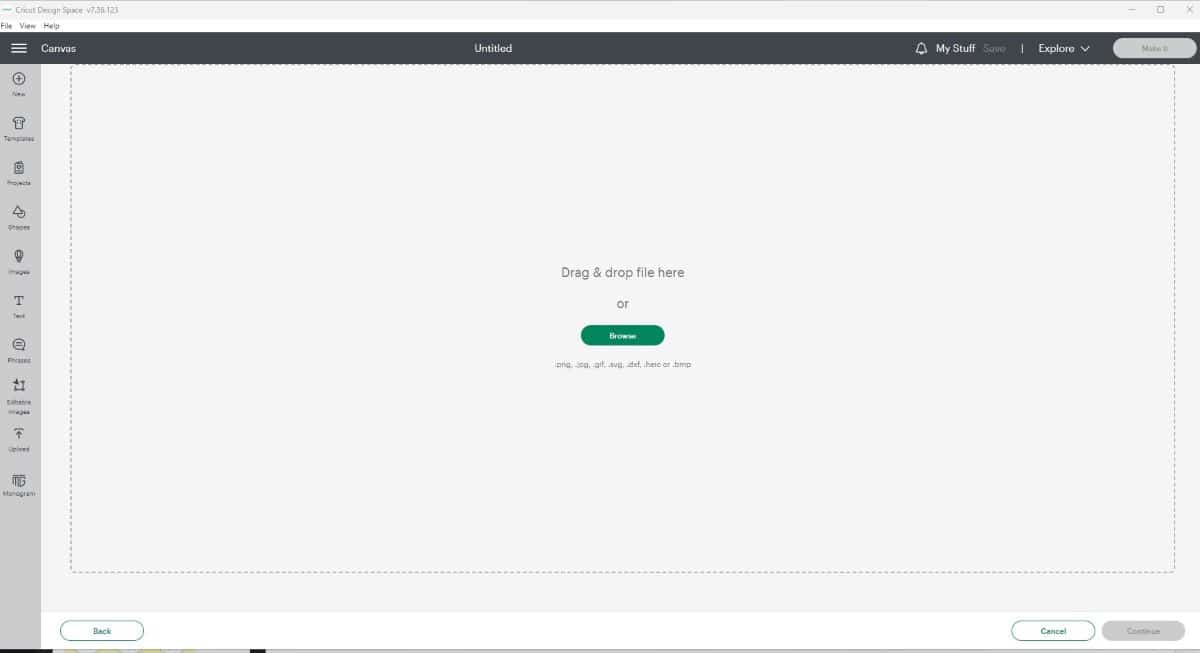
1. Upload the Design: Start by uploading the downloadable PNG cake topper design (available for free at the end of this post) into Cricut Design Space. Or make your own PNG file on Canva--just make sure the letters are touching so the topper will cut as one piece.
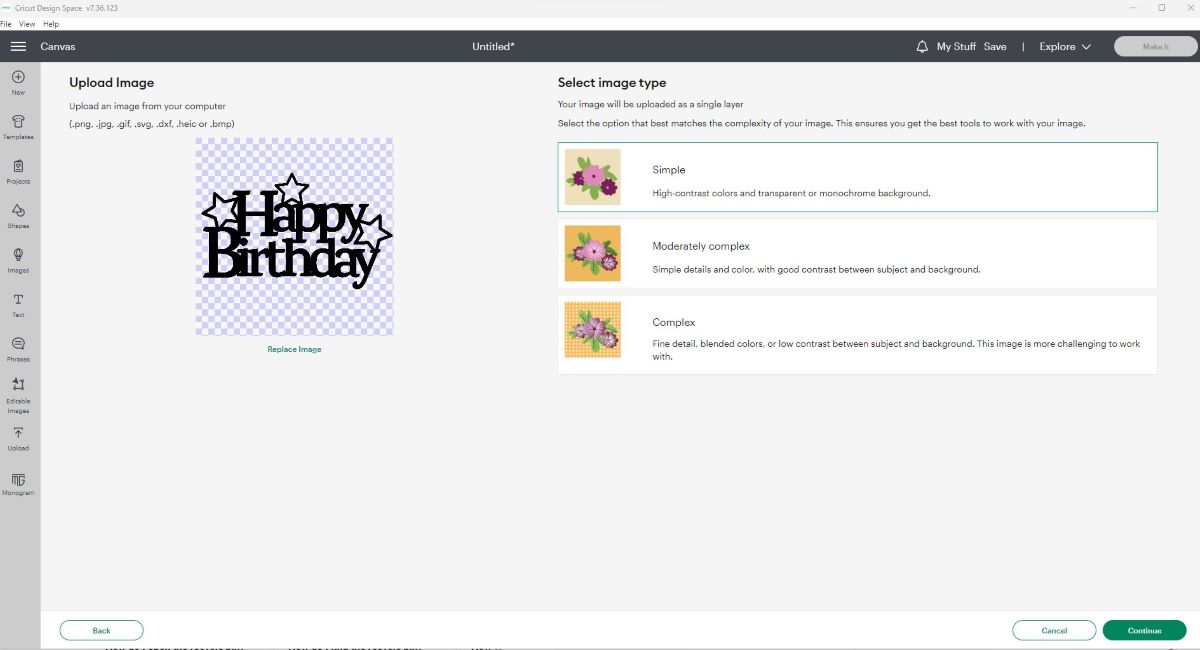
2. Clean Up the Design in Cricut Design Space: Make sure all the background elements are removed correctly. Everything but the black should be transparent. This should be automatic, but make sure all the small elements inside the letters are transparent as well.
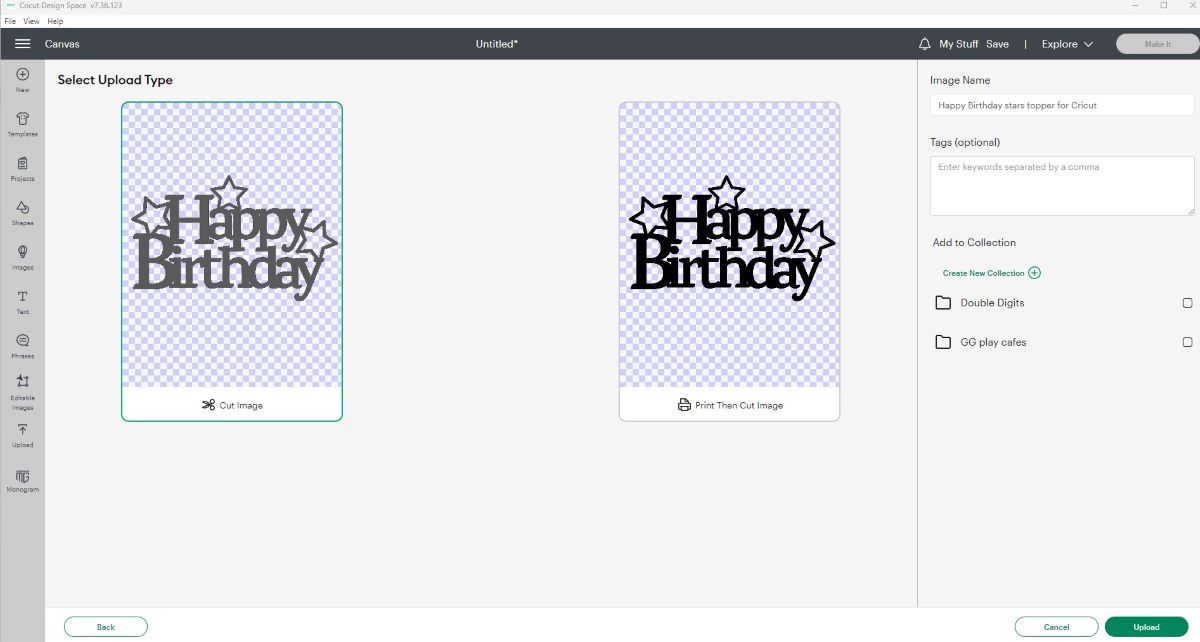
3. Once you've ensured the background of the cake topper design is removed, save the design as a cut file.
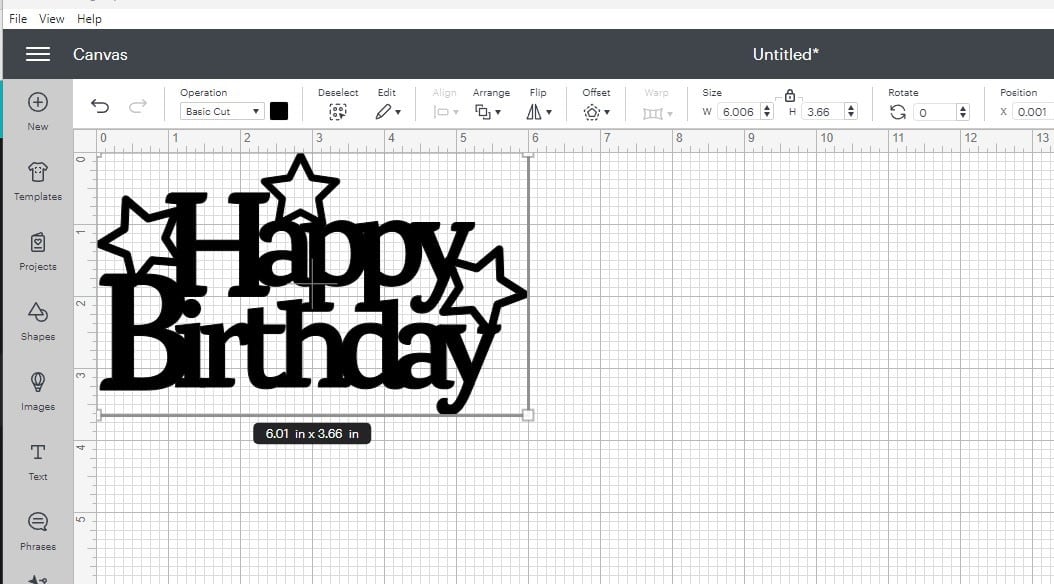
4. Insert your new upload into your Cricut Project. Resize it to make sure the cake topper is the right size for your cake. I recommend keeping the toppers about 5-6 inches, as larger toppers will be more delicate.
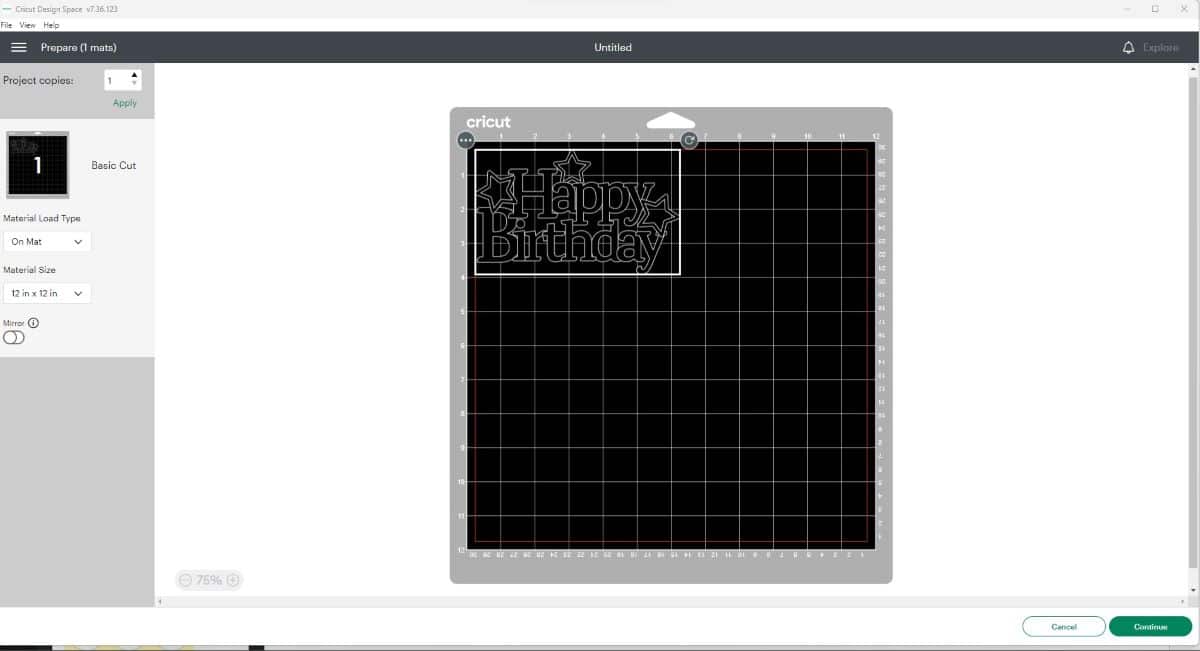
5. Cut the Design: It's time to cut your cake topper. Set up your Cricut with the standard blade and mat.
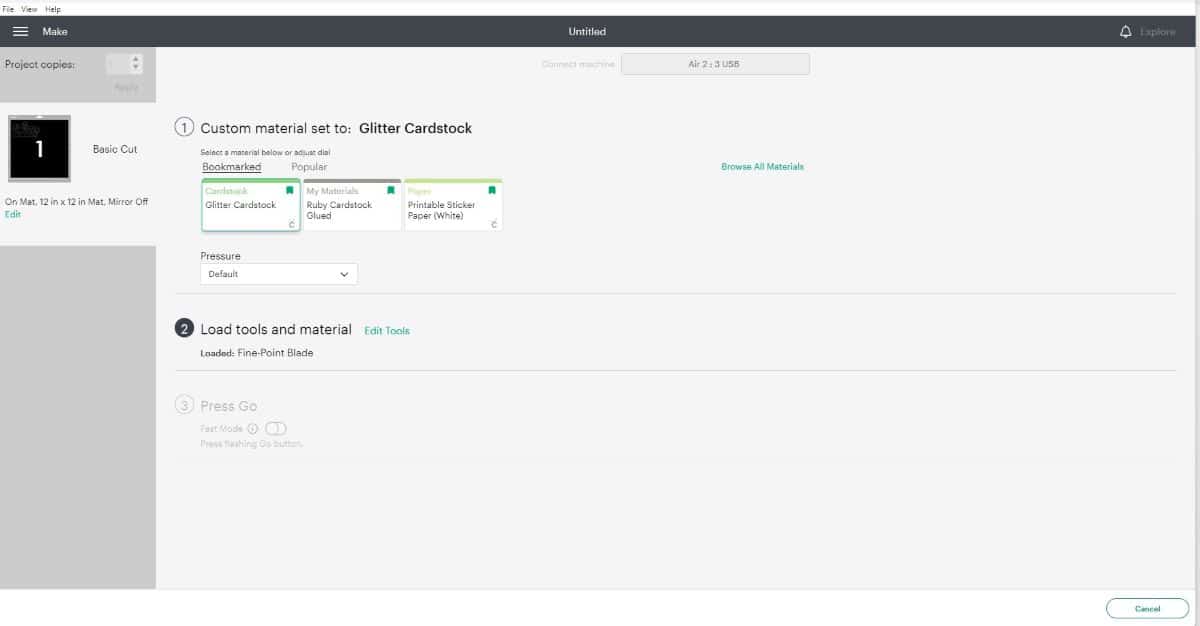
6. Select your Material, then cut your cake topper, and carefully remove it from the mat after it has been cut.
7. Glue the Topper to the Skewer: Once your cake topper is cut, apply hot glue to the back of the topper. Carefully attach the skewer to the glued area. If you'd prefer to use clear epoxy or tacky glue instead, apply a strip of painter's tape over the glued skewer so that it doesn't shift, then leave it in a safe spot until it's fully dry.
And voila! You've created your very own cake topper. It's as simple as that!
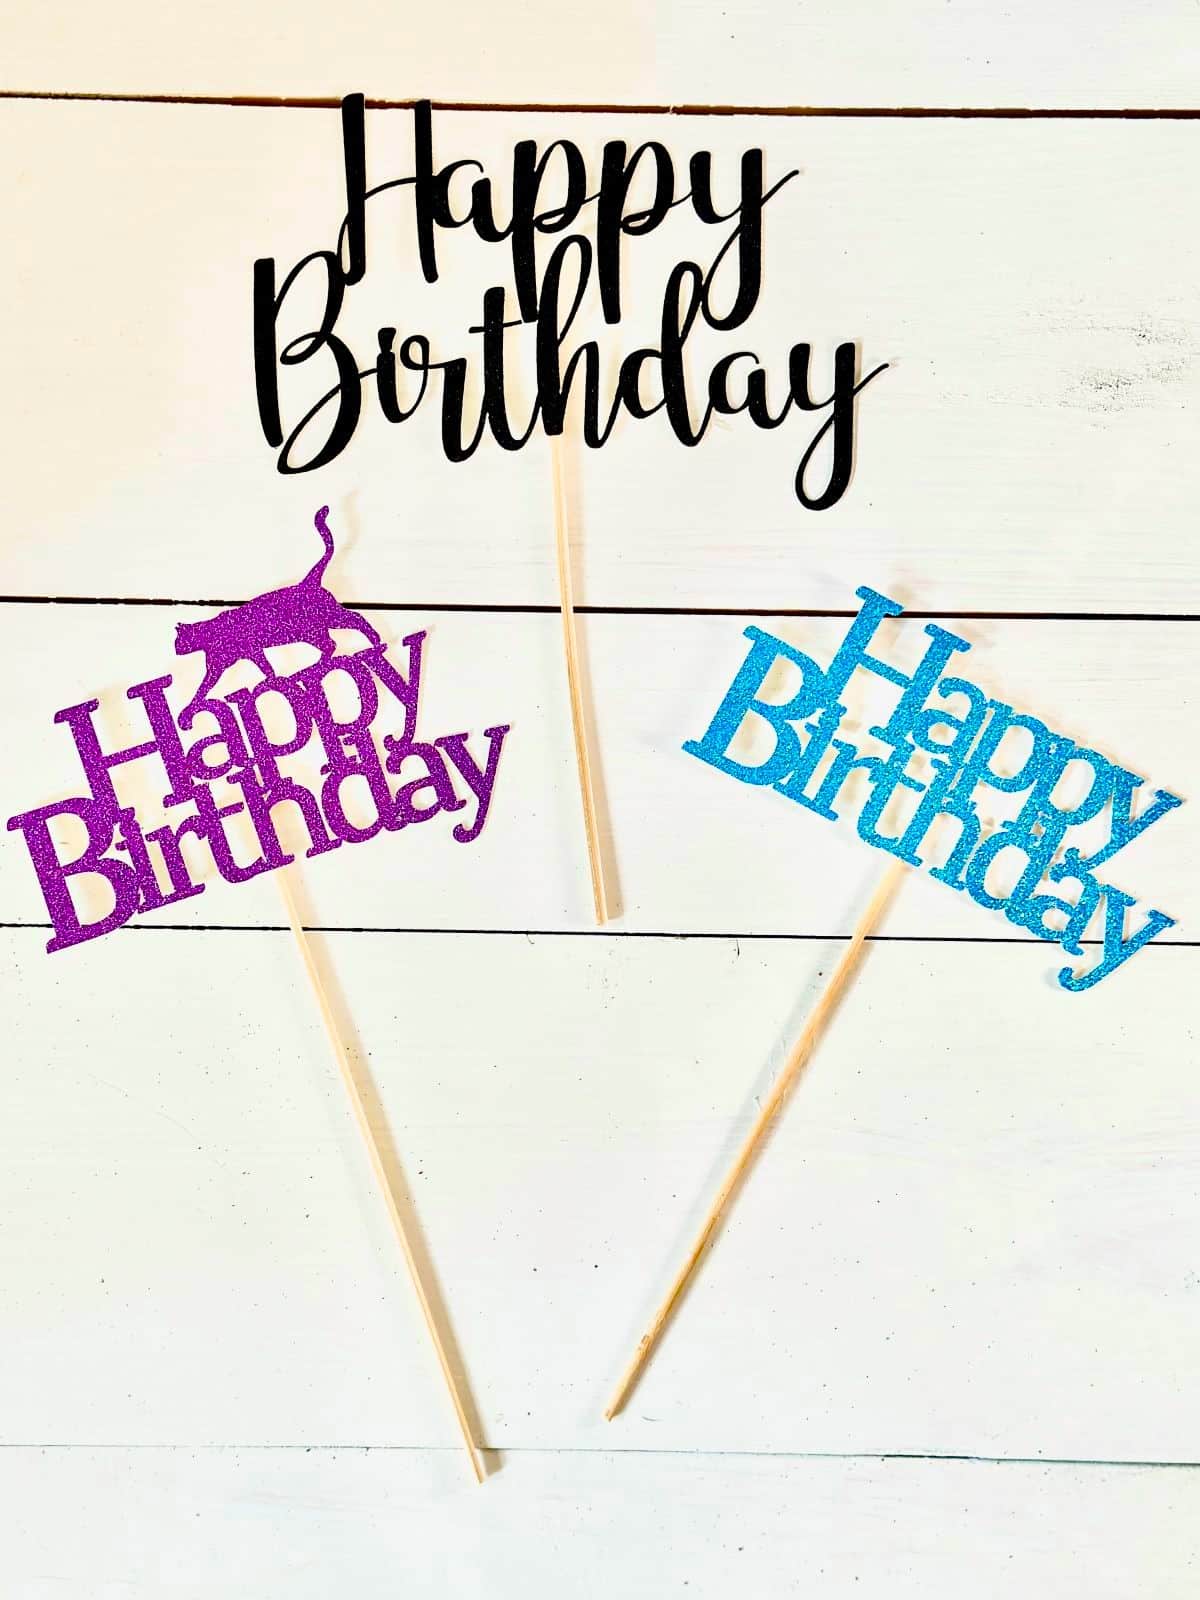
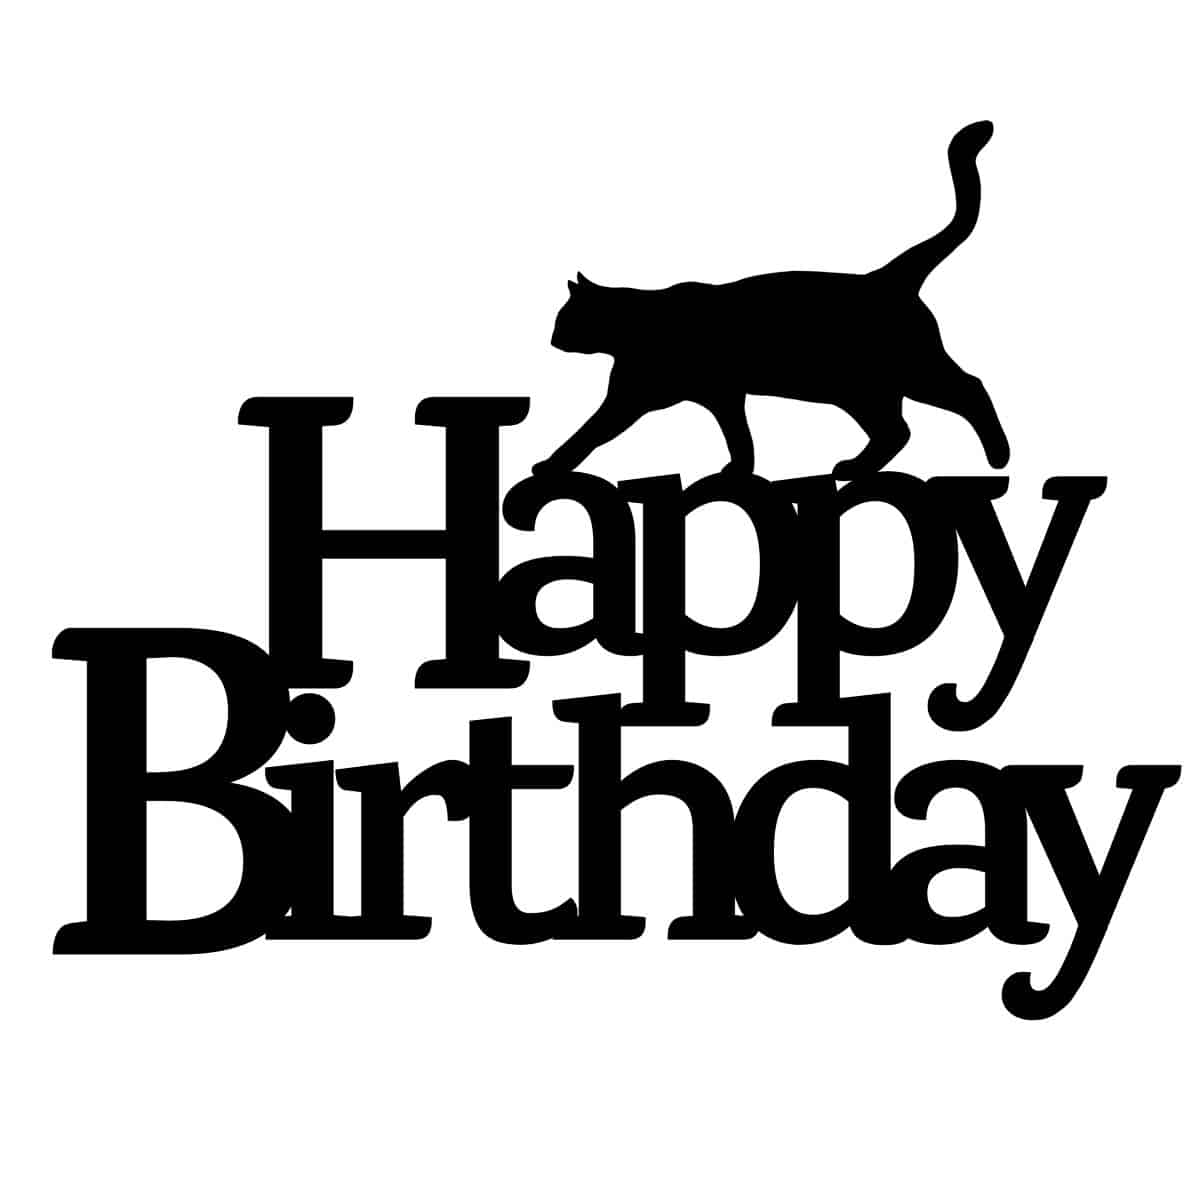
Free Happy Birthday Cricut Cake Topper Designs
Download these free cake topper designs at the bottom of this post. These are png files, but you can convert them to SVG files if needed.


We have additional festive free cake topper designs in our Fourth of July Cake Topper post, including a Happy Birthday and star layered topper in two colors

More Cake Topper Designs
Fourth of July Cake Toppers
Free Happy Birthday Cake Topper Designs
craftshareplay.com
The free printables at craftshareplay.com are for personal, non-commercial use only.


We'd love to hear from you